Building The Hoenn Starters: A LEGO Pokemon Project

Table of Contents
Designing Your LEGO Treecko
Capturing Treecko's Features
Treecko's design is instantly recognizable: its sleek, agile posture, vibrant green skin, and distinctive leafy tail. Replicating these features in LEGO requires careful consideration of both color and piece selection.
- Body: Use dark green plates and slopes for the main body, aiming for a smooth, streamlined look. Consider using lighter green accents for highlights.
- Legs: Employ smaller, thinner pieces for the legs to convey Treecko's slender build. Try using dark-green plates and hinges for articulation.
- Head: Create a slightly triangular head shape using slopes and plates. Use smaller, dark green bricks for the eyes, and a subtle curve for the snout.
- Color Palette: Stick to variations of green for a realistic look. Dark green for the main body, lighter green for highlights, and possibly a touch of olive green for shading.
Building the Treecko Body
Constructing Treecko's body is a modular process.
- Torso: Start with a base of 2x4 dark-green plates, building upwards using slopes and plates to create the body's tapered shape.
- Legs: Attach the pre-built legs to the bottom of the torso using hinges or ball joints for added posability.
- Head: Connect the head to the top of the torso, securing it with studs or Technic pins for a firm fit.
For more advanced builders, consider techniques like SNOT (Studs Not On Top) to create a smoother, more organic look. Beginners can focus on a simpler, more blocky design.
Assembling the Treecko's Unique Tail
The leafy tail is Treecko's defining feature.
- Leaf Construction: Use flexible hoses in various lengths and angles to create the swaying leaves. Consider using different shades of green for contrast.
- Attachment: Attach the hoses to the back of the torso using small connectors or clips. Experiment with different angles and lengths to capture the tail's dynamic movement.
- Alternative Approach: For a more structured tail, you can use plant elements or other flexible LEGO pieces.
Experiment to find a balance between flexibility and stability. A well-constructed tail will enhance your LEGO Treecko's overall appearance.
Constructing Your LEGO Torchic
Replicating Torchic's Flame
Torchic's fiery spirit is captured by its iconic flame.
- Translucent Pieces: Utilize translucent orange or red LEGO pieces to create the flame effect. Experiment with different shapes and sizes of bricks to find the best representation of the flame.
- Layered Approach: Create depth and dimension by layering the pieces, starting with a larger, brighter base and adding progressively smaller pieces for a flickering effect.
- SNOT Technique: Use the SNOT (Studs Not On Top) technique for a smoother, more seamless flame transition. This will help to avoid a jagged look.
Shaping Torchic's Body
Torchic's round, chick-like body can be achieved using curved slopes and round bricks.
- Color Choices: Primarily use orange bricks, with a touch of yellow for the underbelly and beak to emphasize its warmth and cuteness.
- Proportions: Pay attention to the proportions; the head should be relatively large compared to the body, accentuating its adorable features.
- Smooth Finish: To avoid a clunky look, use the SNOT technique wherever possible to blend pieces seamlessly.
Adding Details to Your LEGO Torchic
Smaller details bring your Torchic to life.
- Beak: Use a small yellow cone or a similarly shaped brick for the beak.
- Eyes: Employ small black or dark-brown round bricks for the eyes; consider using white dots for additional expression.
- Feet: Small, orange pieces can create simplistic yet effective feet.
Creating Your LEGO Mudkip
Building Mudkip's Aquatic Form
Mudkip's amphibious nature is key to its design.
- Smooth Curves: Achieve Mudkip's smooth curves using curved slopes and various brick shapes.
- Color Palette: Choose light and dark blue bricks to capture its aquatic appearance. Light blue for the main body, and dark blue for accents and shading.
- Water Texture: Consider using slightly textured pieces to subtly suggest the water around Mudkip.
Sculpting Mudkip's Head and Fins
Mudkip's head and fins require precise shaping.
- Head: Use a combination of curved slopes and plates to mold the head's shape, paying attention to the slight upward tilt.
- Fins: Construct fins using angled pieces. Experiment with positioning to suggest movement through the water.
- Detailed Fins: Use small, angled bricks to add texture and detail to the fins, making them look more realistic.
Final Assembly of Your LEGO Mudkip
Assemble your Mudkip step-by-step, ensuring each part securely connects.
- Body: Start by building the main body using curved slopes and plates, establishing the foundation of the model.
- Head: Attach the pre-built head securely to the body.
- Fins: Add the fins to the sides of the body, ensuring they maintain a natural, dynamic pose.
- Base (Optional): Use a small baseplate to improve the model's stability.
Conclusion
This guide has shown you how to build your own LEGO Pokémon Hoenn Starters – Treecko, Torchic, and Mudkip! By following these instructions and using your creativity, you can bring these beloved Pokémon to life using LEGO bricks. Remember to experiment with different techniques and colors to create your unique versions. Share your completed LEGO Pokémon Hoenn Starters creations online using #LEGOPokemonHoennStarters! Start building your own adorable LEGO Pokémon today!
Featured Posts
-
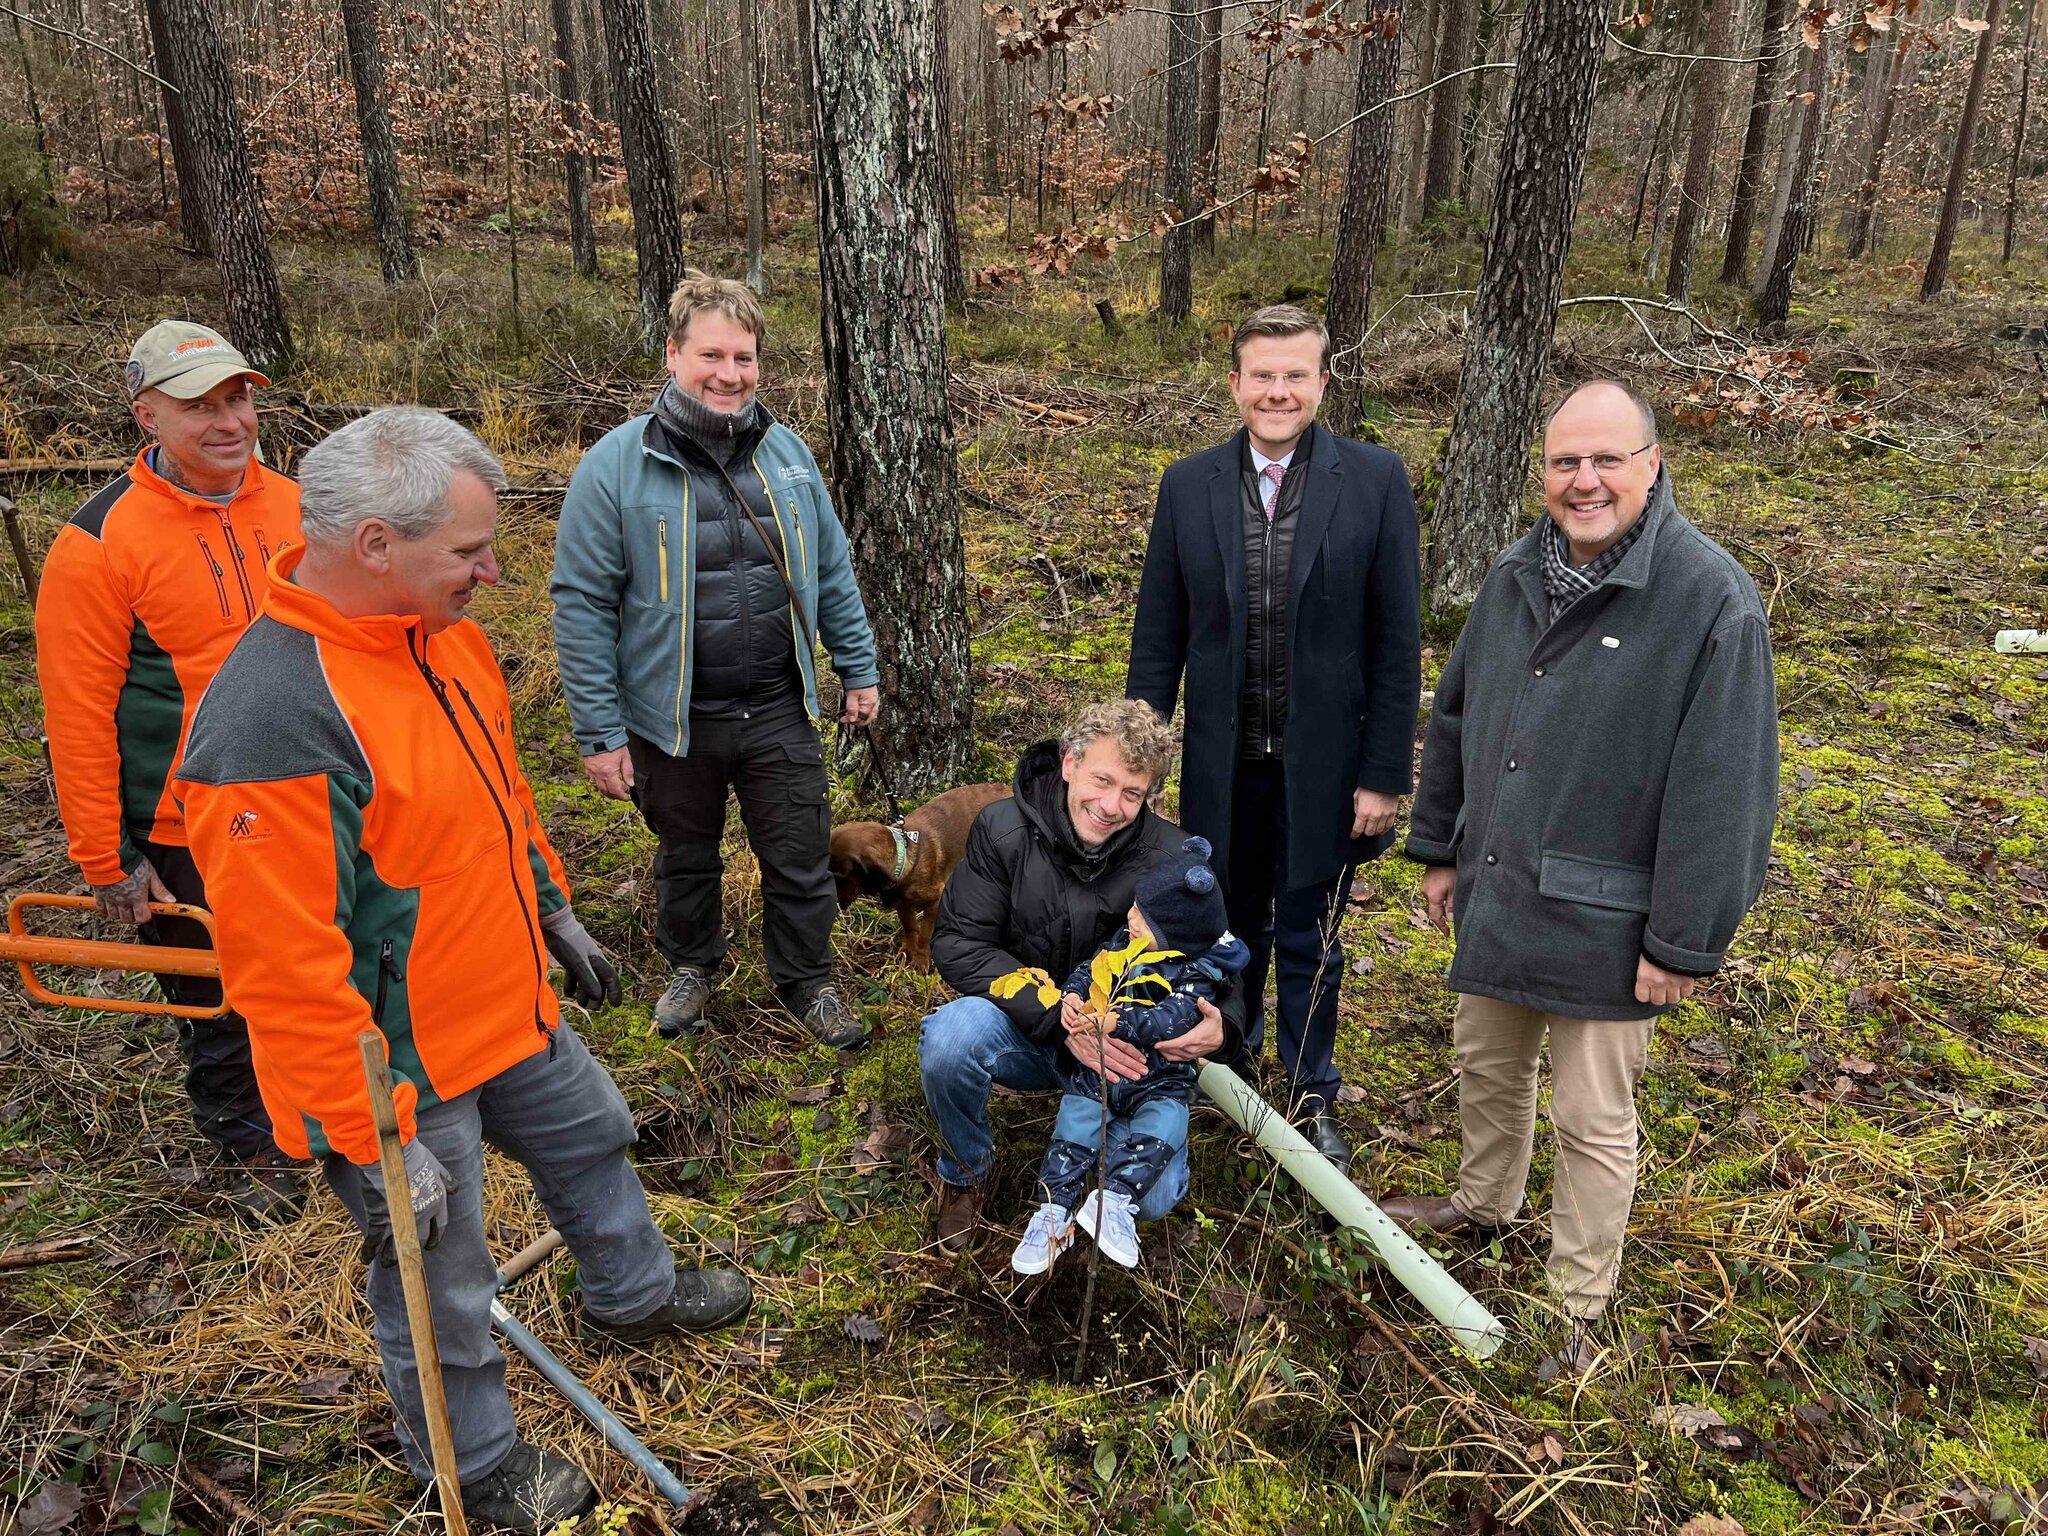 Naturschutz In Der Saechsischen Schweiz 190 000 Baeume Gepflanzt
May 14, 2025
Naturschutz In Der Saechsischen Schweiz 190 000 Baeume Gepflanzt
May 14, 2025 -
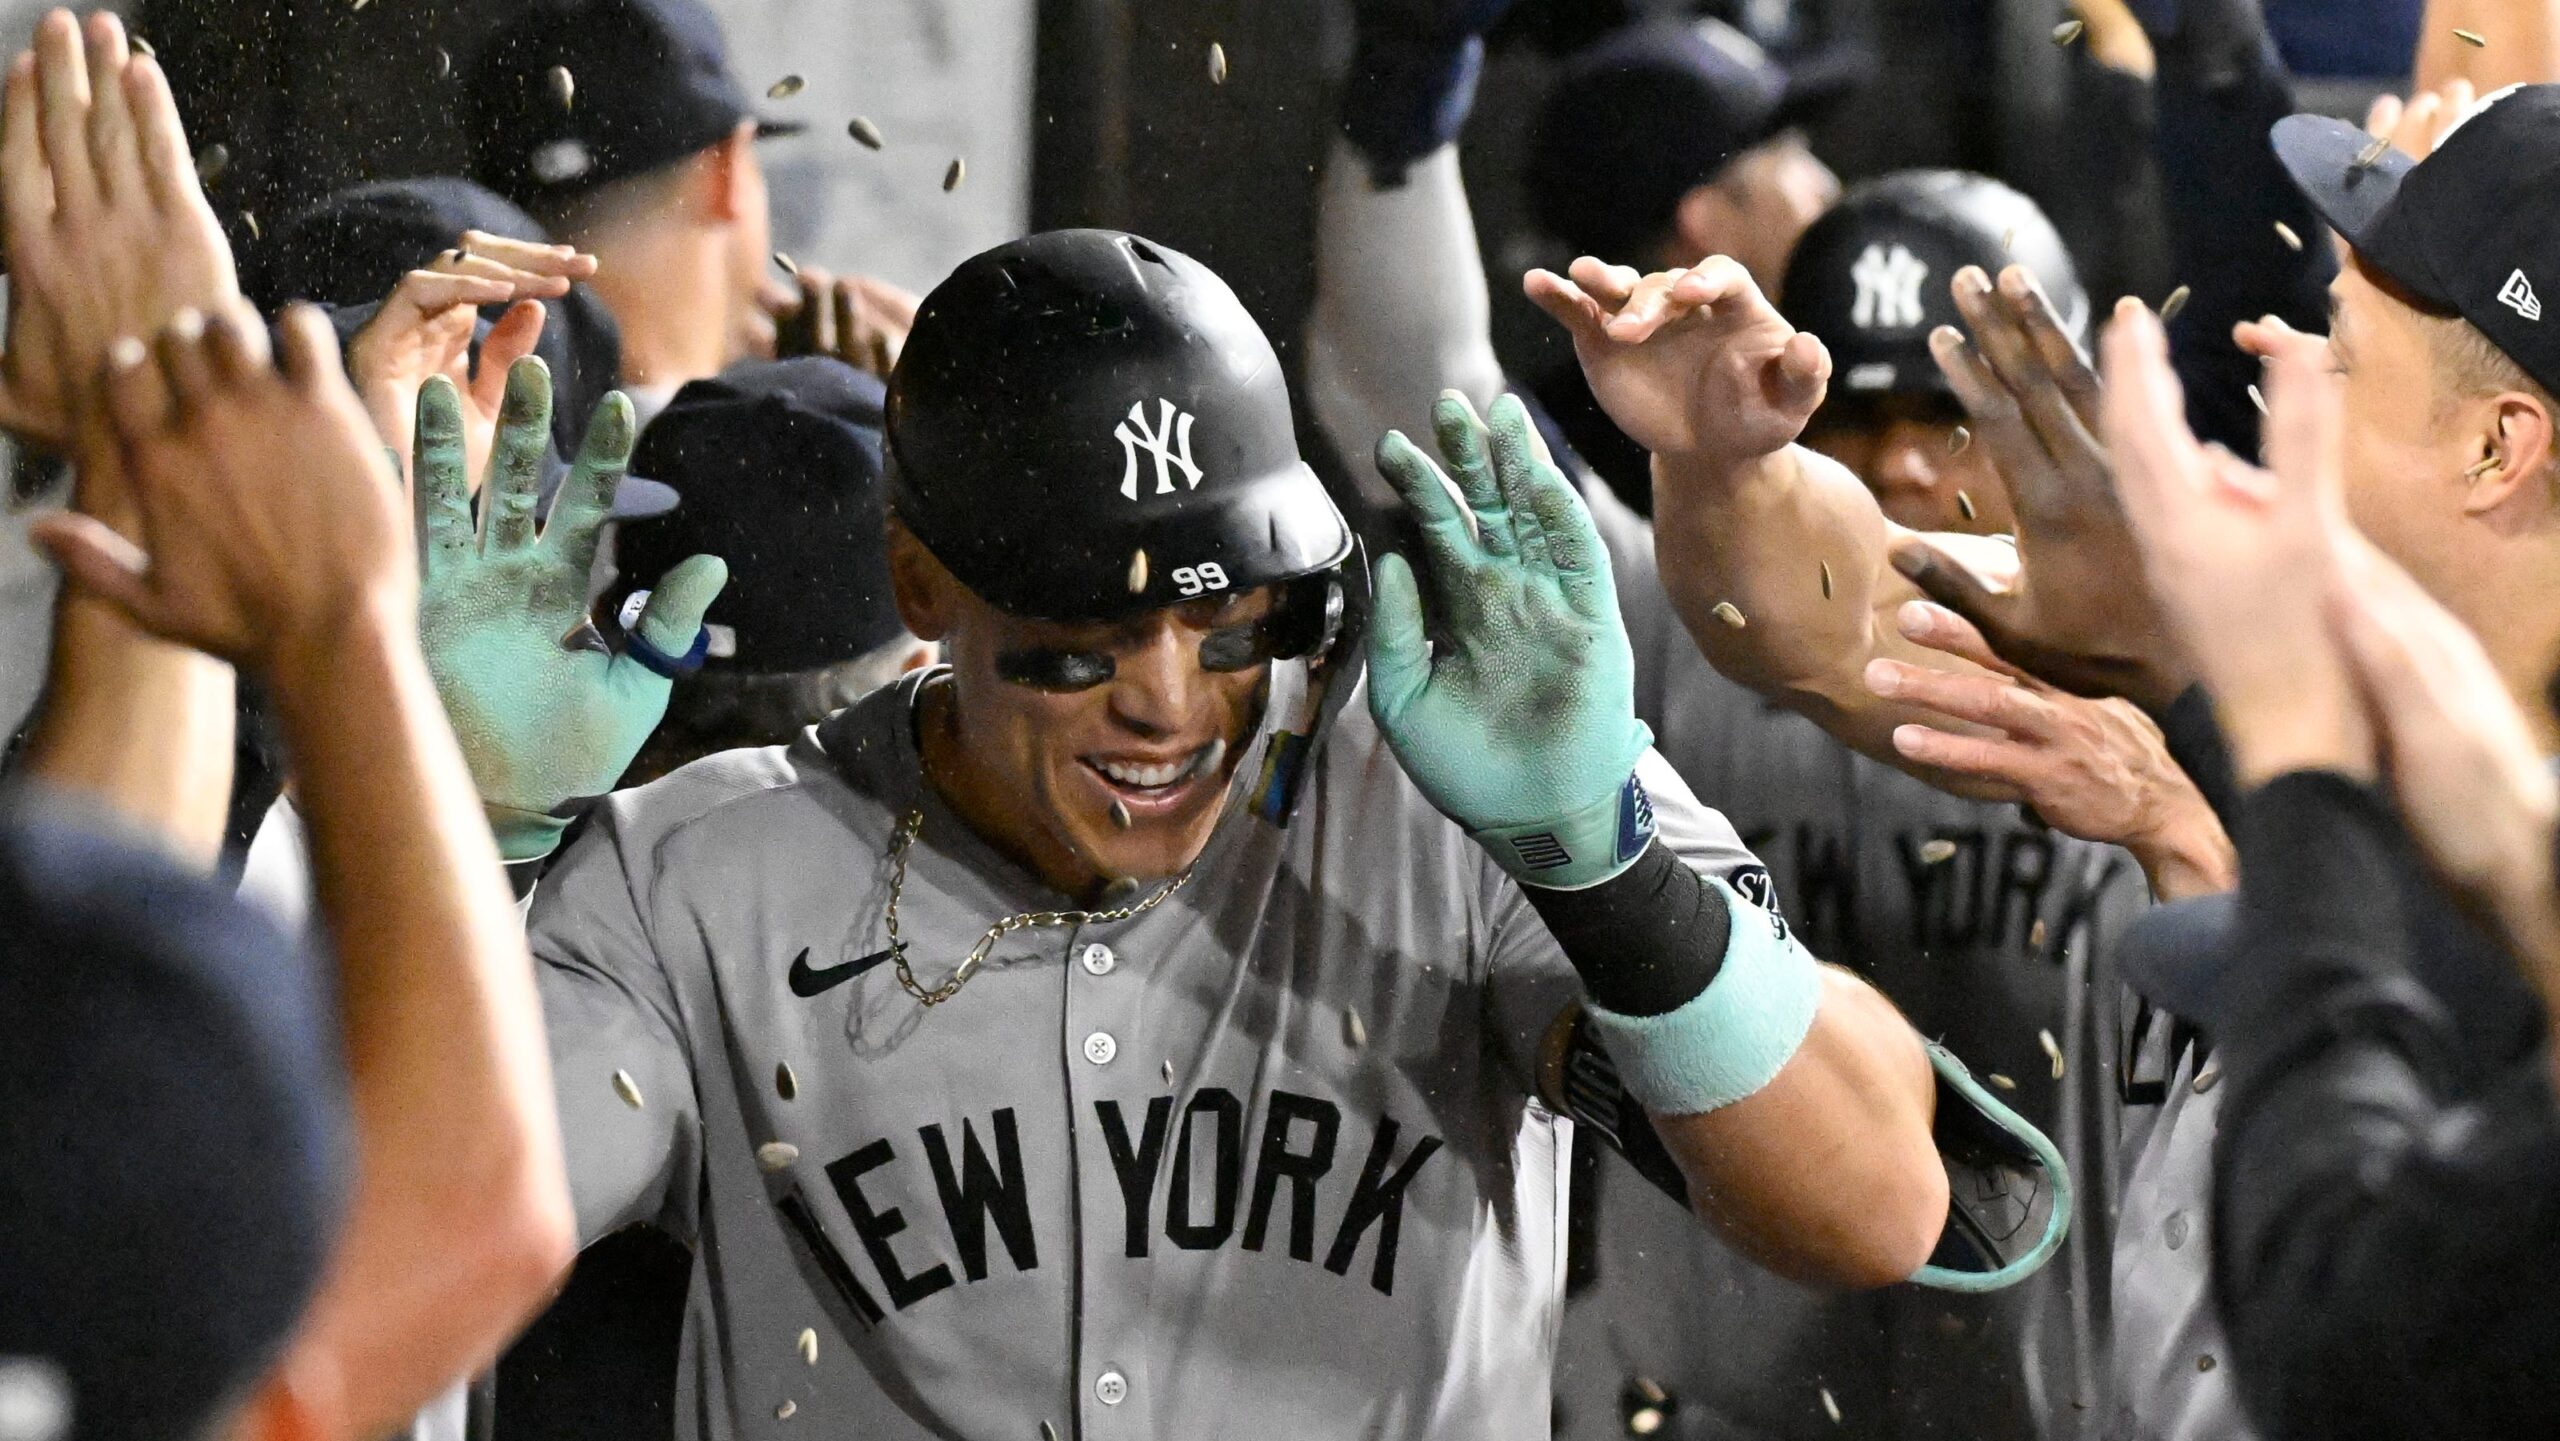 When To Intentionally Walk Aaron Judge A Strategic Analysis
May 14, 2025
When To Intentionally Walk Aaron Judge A Strategic Analysis
May 14, 2025 -
 Analyzing Captain America Brave New Worlds Low Box Office Performance
May 14, 2025
Analyzing Captain America Brave New Worlds Low Box Office Performance
May 14, 2025 -
 Separation Familiale Sous Oqtf Le Cas Des Deux Collegiens Et Leur Mere
May 14, 2025
Separation Familiale Sous Oqtf Le Cas Des Deux Collegiens Et Leur Mere
May 14, 2025 -
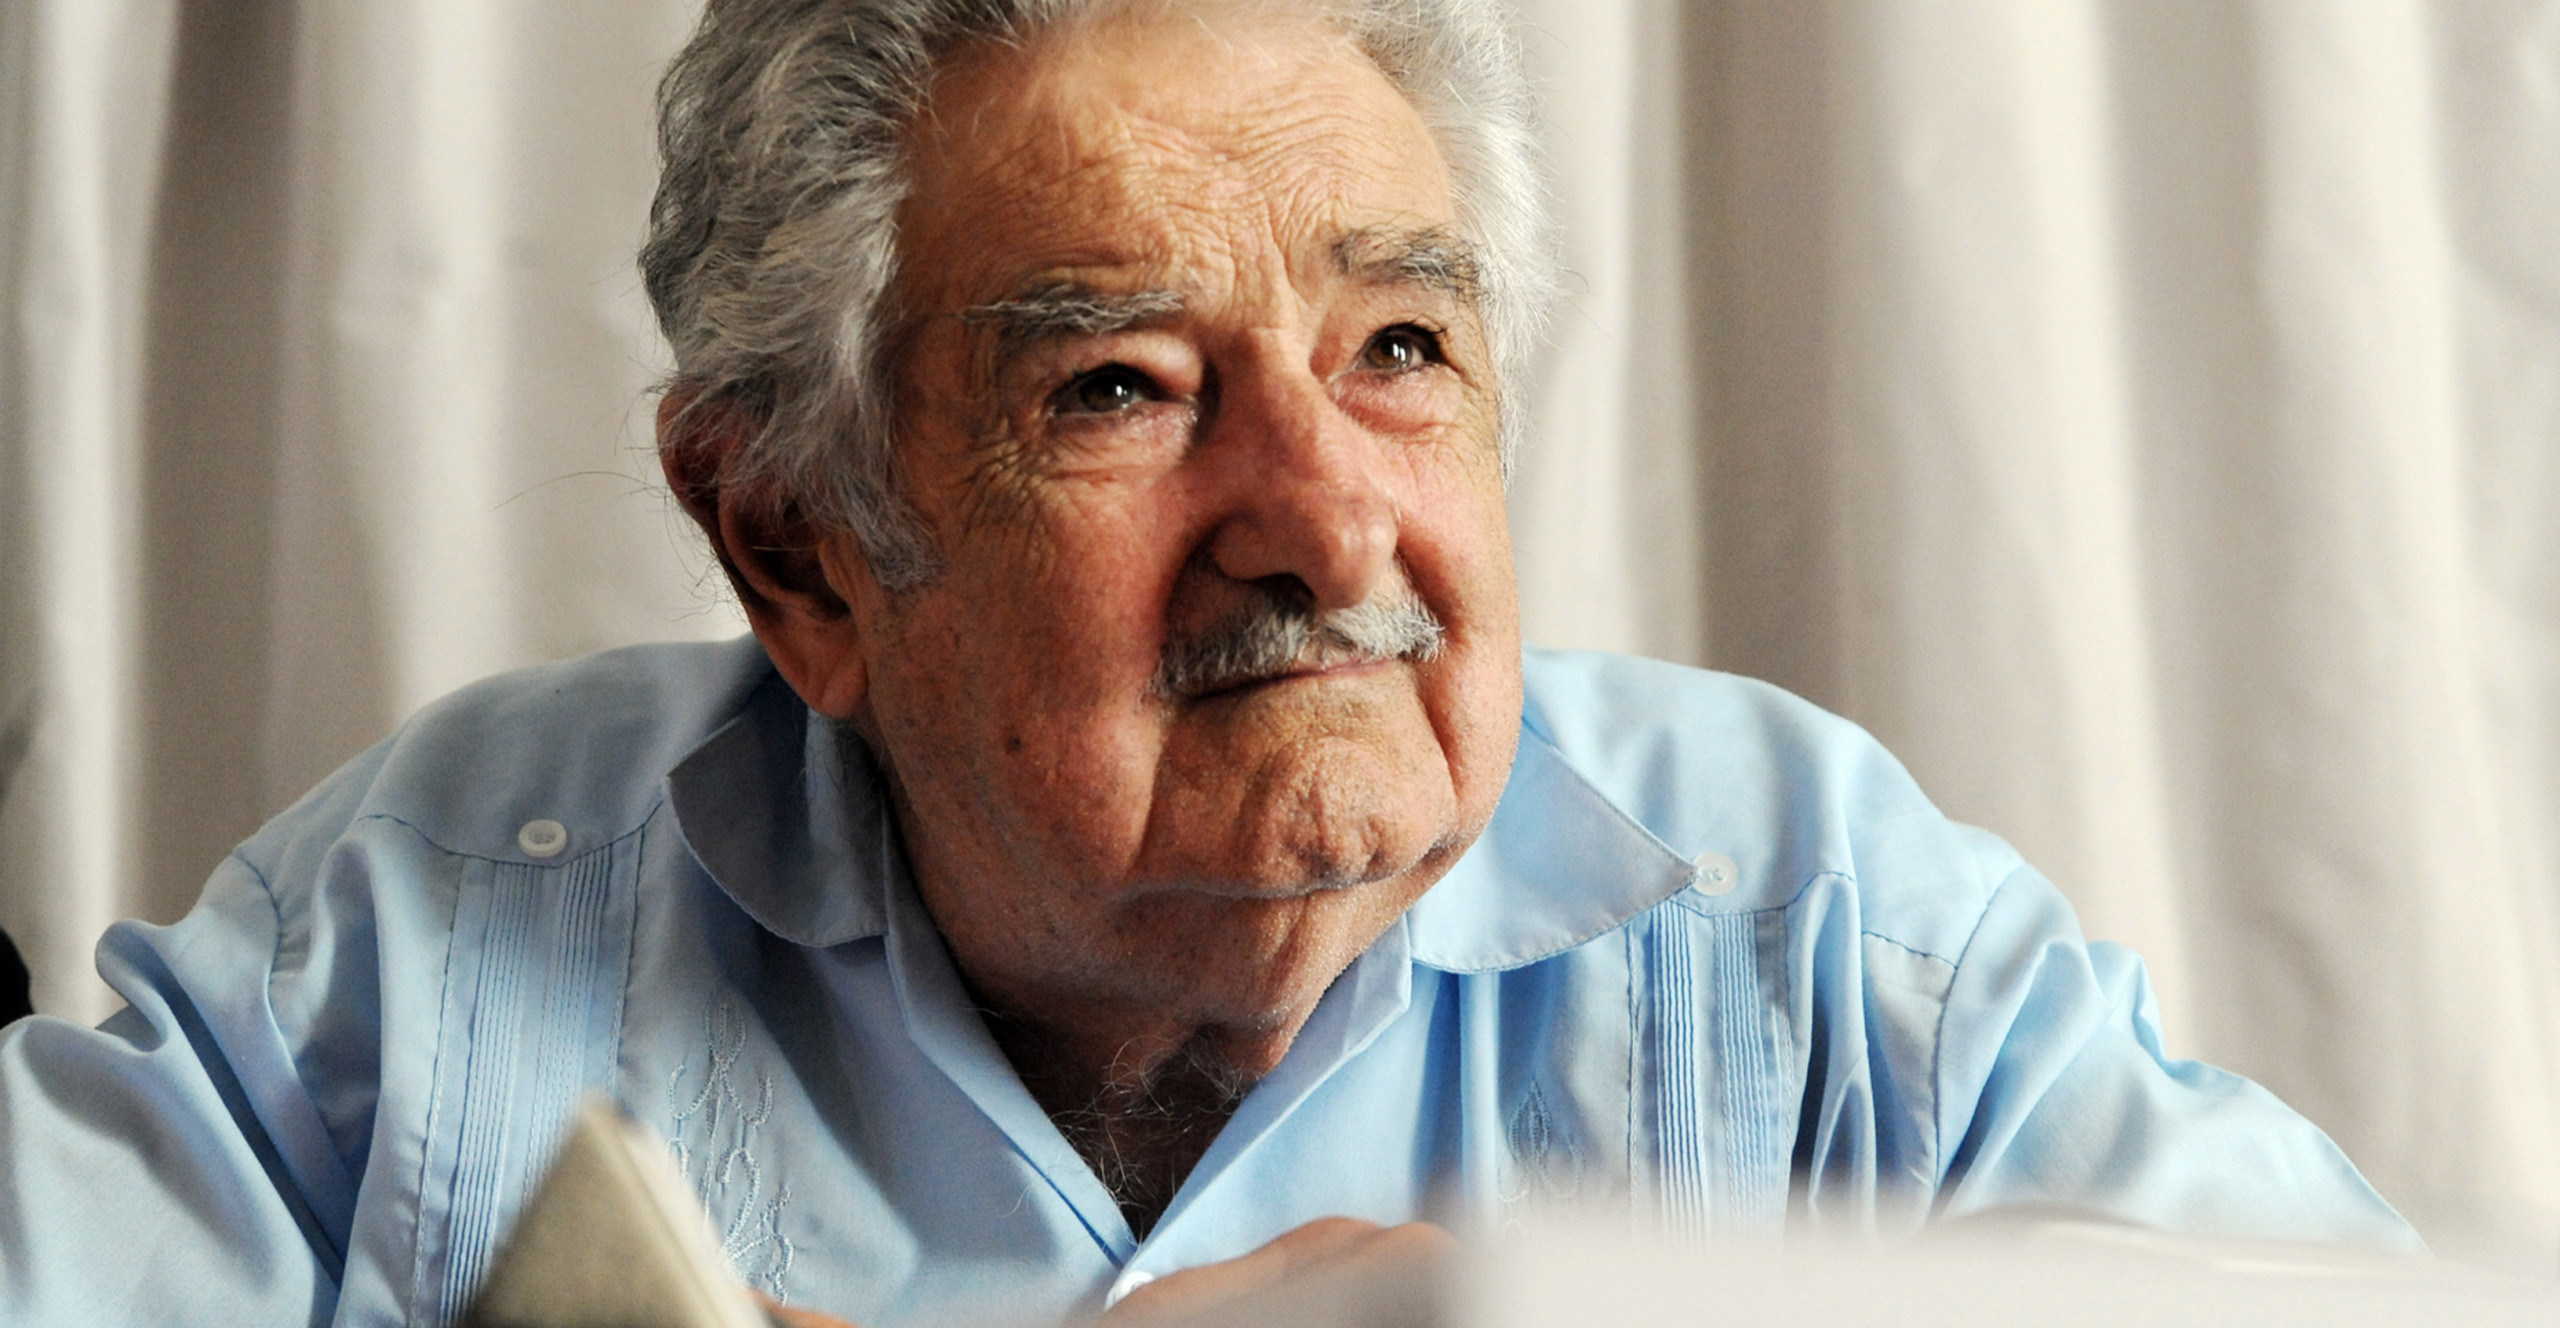 Uruguays Ex President Jose Mujica A Life Remembered
May 14, 2025
Uruguays Ex President Jose Mujica A Life Remembered
May 14, 2025

